When the colder months start to roll in, your outdoor storage shed can quickly become a vulnerable spot. Whether it’s home to gardening tools, seasonal decorations, or valuable equipment, your shed needs a bit of attention before winter’s chill sets in. Winterizing isn’t just about keeping the snow out—it’s about ensuring your tools and supplies stay in great condition until spring. So, how can you make sure everything inside your shed is ready to withstand the cold?
Start With a Thorough Clean-Out
Before you learn how to winterize effectively, a good clean-out is a must! It’s easy to stash things away all summer long and forget what’s piled up in there. But before winter comes, take everything out of the shed. Yes, everything. Why? It’s not just about making space; it’s about spotting potential problems like leaks, rusting, or critter nests that might have gone unnoticed.
While everything is outside, give your tools a quick inspection. Clean off dirt or rust and repair anything broken. Not only does this prevent further damage, but it makes organizing your shed easier when you’re ready to put things back.
Check for Gaps and Cracks
Once the shed is emptied out, the next priority is ensuring that your shed is sealed against the elements. Cold winds, moisture, and pests can sneak in through even the smallest gaps, so take your time examining the structure from top to bottom. Look out for:
- Doors and windows – Ensure the seals are tight. If you notice any drafts, add weatherstripping or a door sweep to block them out.
- Walls and floors – Pay attention to corners where pests or water might find an entry point. Use caulk or expanding foam to close off any small cracks.
- Roof leaks – Water damage can be a nightmare during winter. Look for any signs of leaks, such as discolored spots or warped wood, and patch them up before the snow starts.
If you spot significant damage during your inspection, it’s worth making the repairs before it gets too cold to do so comfortably.
Protect Tools and Equipment From Moisture
Moisture is one of the biggest enemies when it comes to protecting what’s inside your shed. Tools that are exposed to damp conditions can rust, and other items like seeds or chemicals can be ruined by moisture. To prevent this, there are a few easy steps you can take.
- Add a moisture barrier – Placing a plastic or rubber mat on the floor can help prevent moisture from seeping up through the ground. This is particularly important if your shed doesn’t sit on a solid foundation.
- Use airtight containers – For smaller tools, gardening supplies, or anything that might be sensitive to dampness, store them in airtight plastic bins. This will also keep pests at bay.
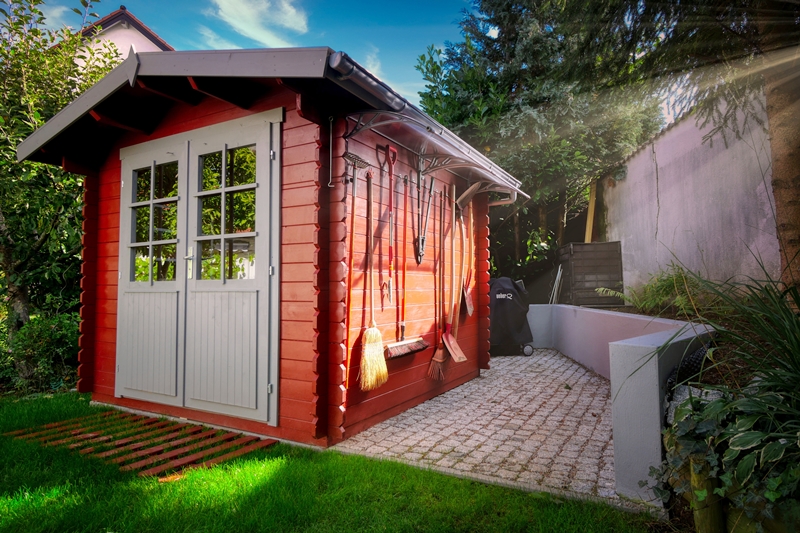
- Hang tools – By hanging your tools on the wall, you’re keeping them off the ground, away from potential moisture and out of the way.
For any expensive power tools, consider adding a layer of rust prevention by applying a light coat of oil or using rust inhibitors.

Insulate if Necessary
Depending on where you live, winter can bring extremely low temperatures that could affect some of the items you store. If your shed contains temperature-sensitive equipment, insulation could be worth the investment. Insulating your shed can help keep the internal temperature more stable and prevent damage caused by freezing.
There are a few insulation methods that could work, depending on your budget and the type of shed you have:
- Foam board insulation – This is a common and affordable option that works well in smaller sheds.
- Spray foam insulation – This is excellent for hard-to-reach places but can be more expensive.
- Fiberglass insulation – A classic option, though it might be overkill for some sheds unless you’re storing delicate items.
If insulation isn’t an option, just ensure that you’re not leaving anything inside the shed that could freeze or crack in the cold.
Don’t Forget About Ventilation
While it’s crucial to keep the cold and moisture out, good ventilation should not be overlooked. Without proper air circulation, your shed can trap humidity, which leads to mold and mildew. Install small vents or louvers to promote airflow without letting the cold air gush in.
If your shed already has a ventilation system, check that it’s functioning properly and isn’t blocked. This balance between sealing off your shed from drafts and ensuring good air circulation is key to preventing unwanted moisture buildup.
Keep Rodents and Pests Out
Winter is not just tough on your tools—it’s also when rodents and pests start seeking out warmer shelters. Your cozy storage shed might seem like the perfect spot for them to hunker down for the season, but you don’t want any uninvited guests nibbling through your belongings.
To keep pests at bay, follow these steps:
- Seal gaps – Check again for even the tiniest of gaps where critters can squeeze in. Mice only need a hole the size of a dime to gain access.
- Use traps or repellents – Set up humane traps or rodent repellent packs, especially near common entry points like doors and windows.
- Store food properly – If you keep pet food, seeds, or anything edible in the shed, make sure it’s stored in airtight containers. Never leave food items in bags or boxes that pests can chew through.
- Clear out clutter – Keep your shed organized and clutter-free. Pests are more likely to take up residence in dark, hidden areas, so don’t give them that opportunity.
Wrap It All Up
Now that your shed is clean, sealed, and ready for winter, take a final walk around. Make sure everything is organized, off the ground, and stored in a way that minimizes damage from moisture, pests, or freezing temperatures. Taking these steps to winterize your shed may seem like extra work, but it will pay off in the spring when you find your tools and supplies just as you left them.


